
Pizza: Dough
If you haven’t yet, check out the pizza introduction.
As I explained in the introduction, this recipe was developed for a while using a conventional oven but I now have a variation built for the temperatures of a dedicated pizza oven. So I’ll split the recipe into two variations when applicable to cover the capabilities of conventional home ovens (max temp. of ~550 F) and dedicated pizza ovens (max temp. ~900 F). The only difference in ingredients between these variations is the inclusion of the sugar and olive oil. Both of these encourage browning and crisping of the crust in a home oven but will cause your pizza to burn at 700 F and higher. The inclusion of these two ingredients brings us closer to “NY style” while dropping them is closer to “Neapolitan style” - though pundits of either would nitpick this.
Since the ingredients for the pizza oven are a subset of the ingredients for the home oven, I’ll present one set of instructions with just an inline note on what to do with the sugar and oil. The rest is all the same!
Ingredients
Makes three 12 inch pies or four 8-10 inch pies.
Home oven (“NY”)
|
Pizza oven (“Neapolitan”)
|
Instructions
- Combine the dry ingredients and wet separately (remember to heat the water - I use the microwave)
- If you have a stand mixer, you can put the dry mixture into that bowl, turn it on with the dough hook, and pour the liquid mixture in slowly until it comes together.
- If you don’t have a stand mixer, make hole in the middle of the dry mixture, pour the liquid into the middle, and slowly bring in the walls of flour until combined (this is all just to keep it from being a mess - nothing special about the dough development).
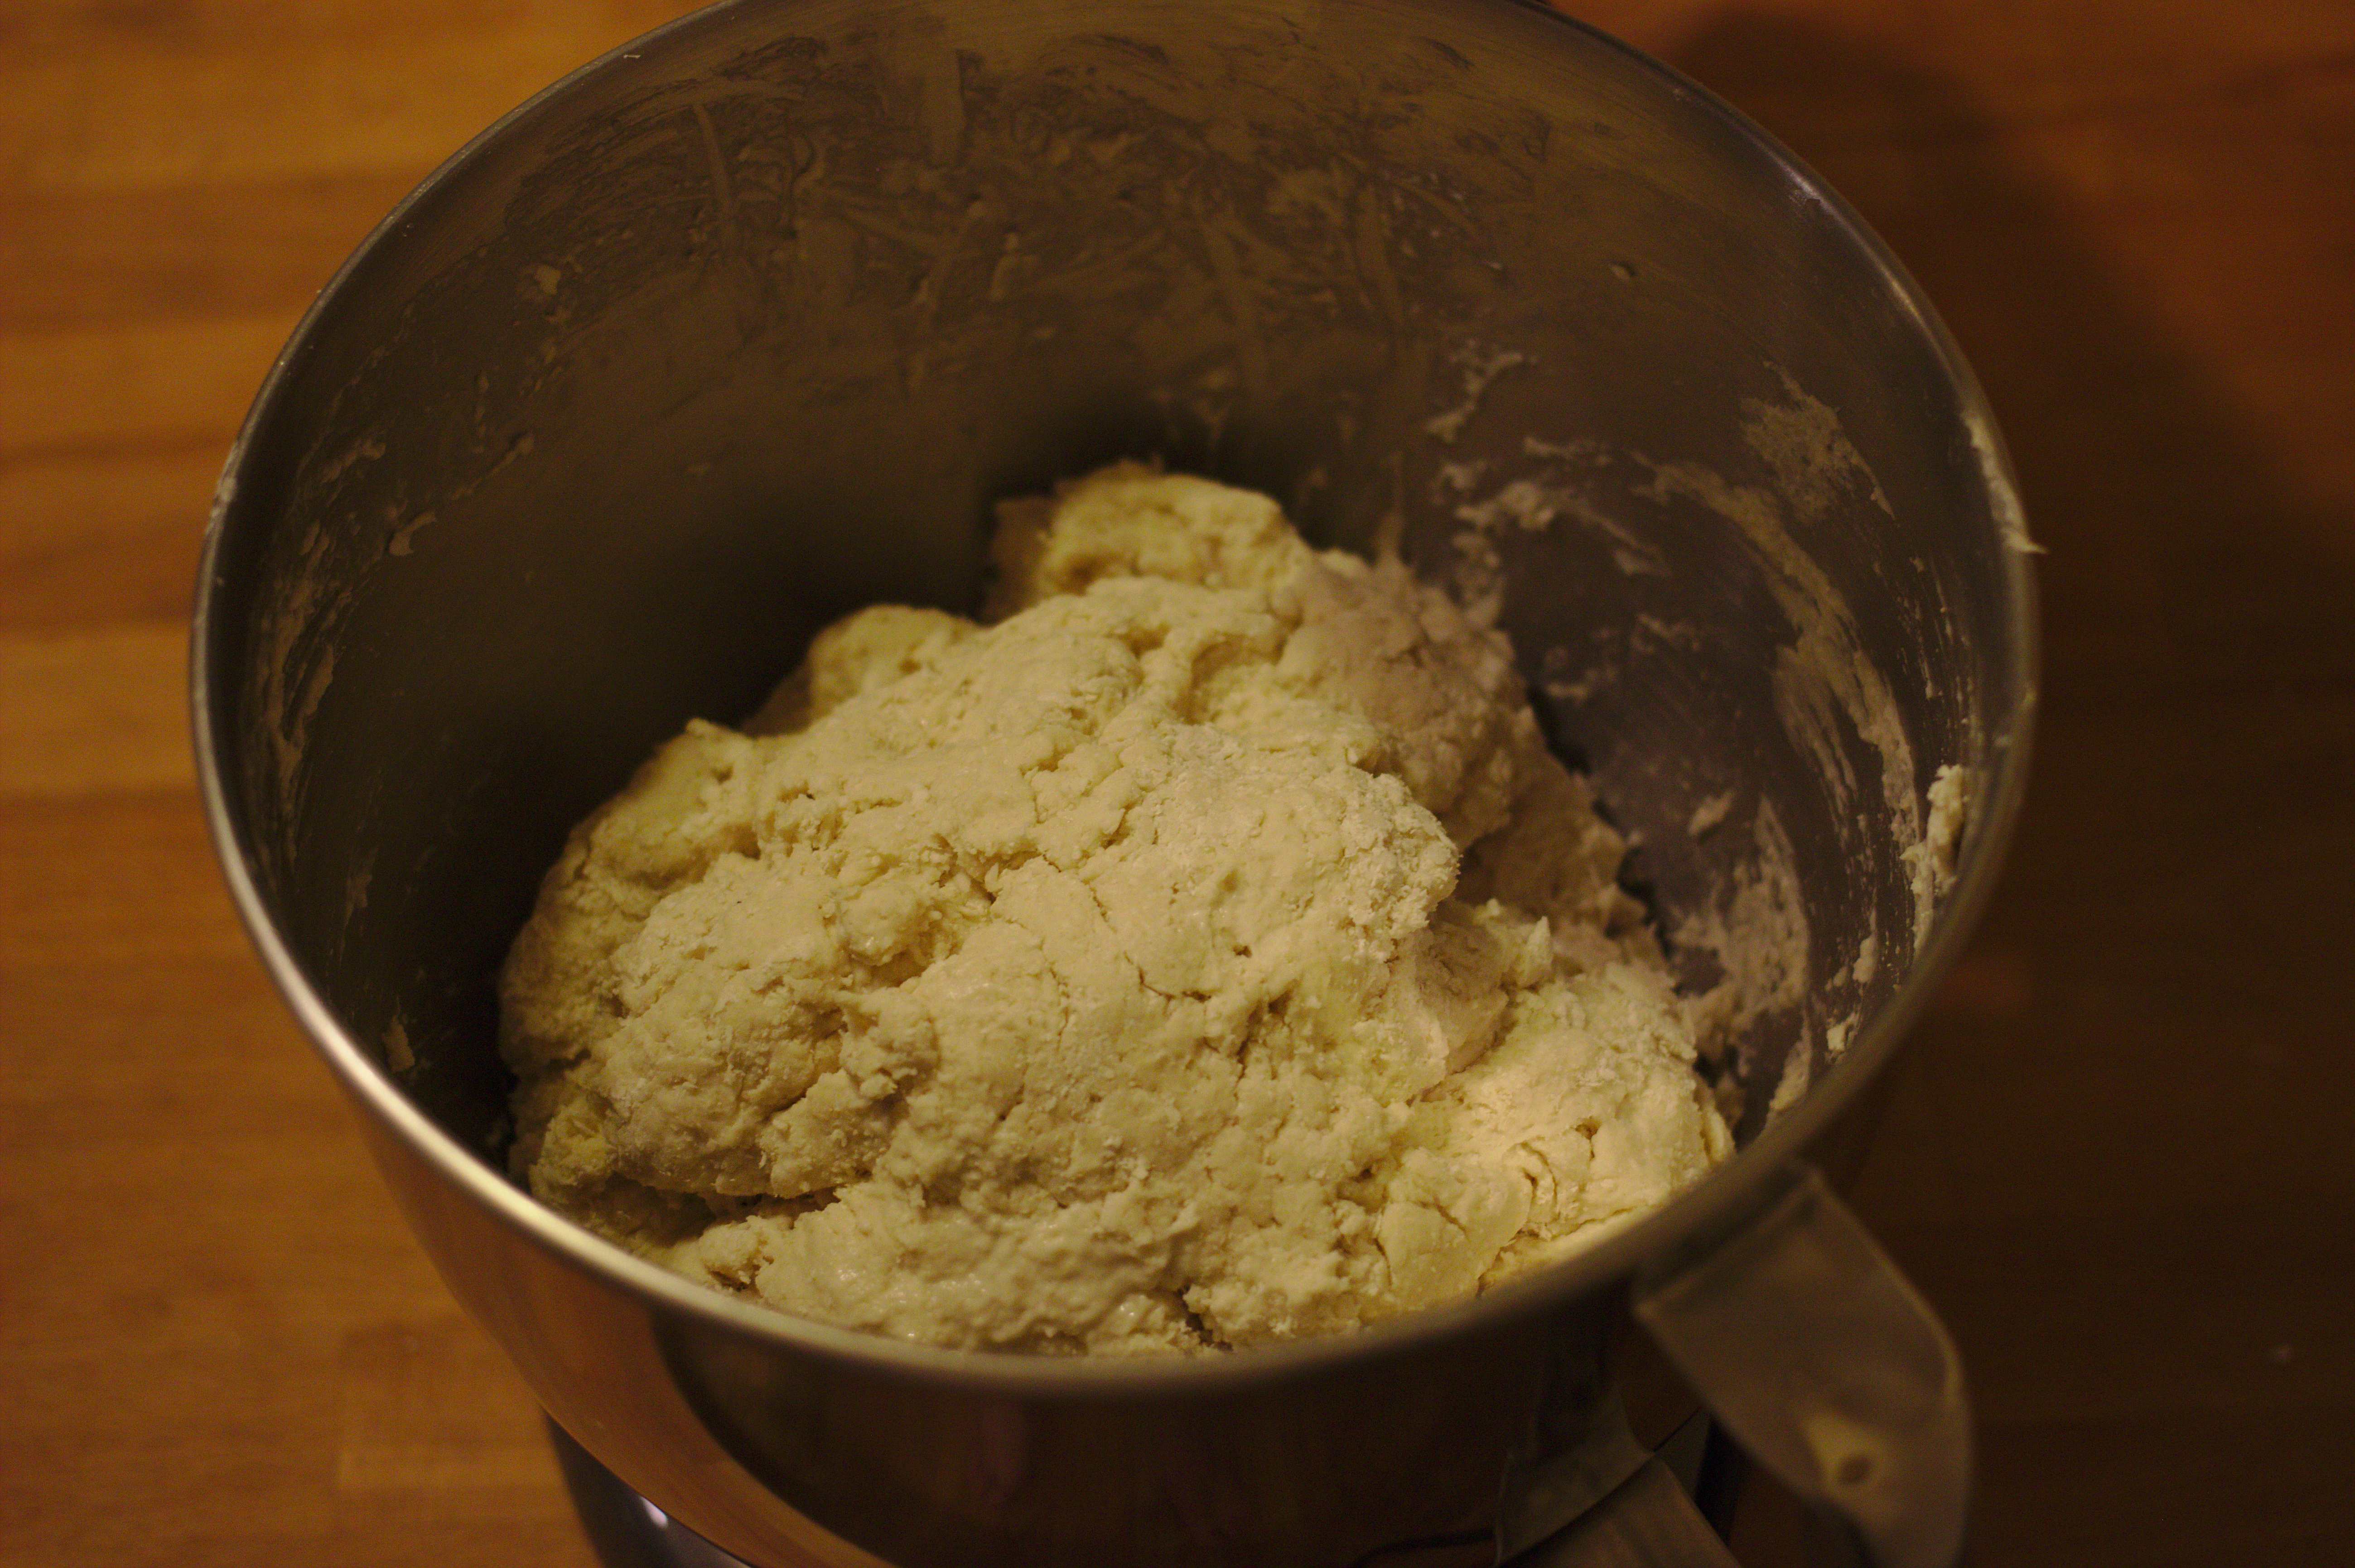
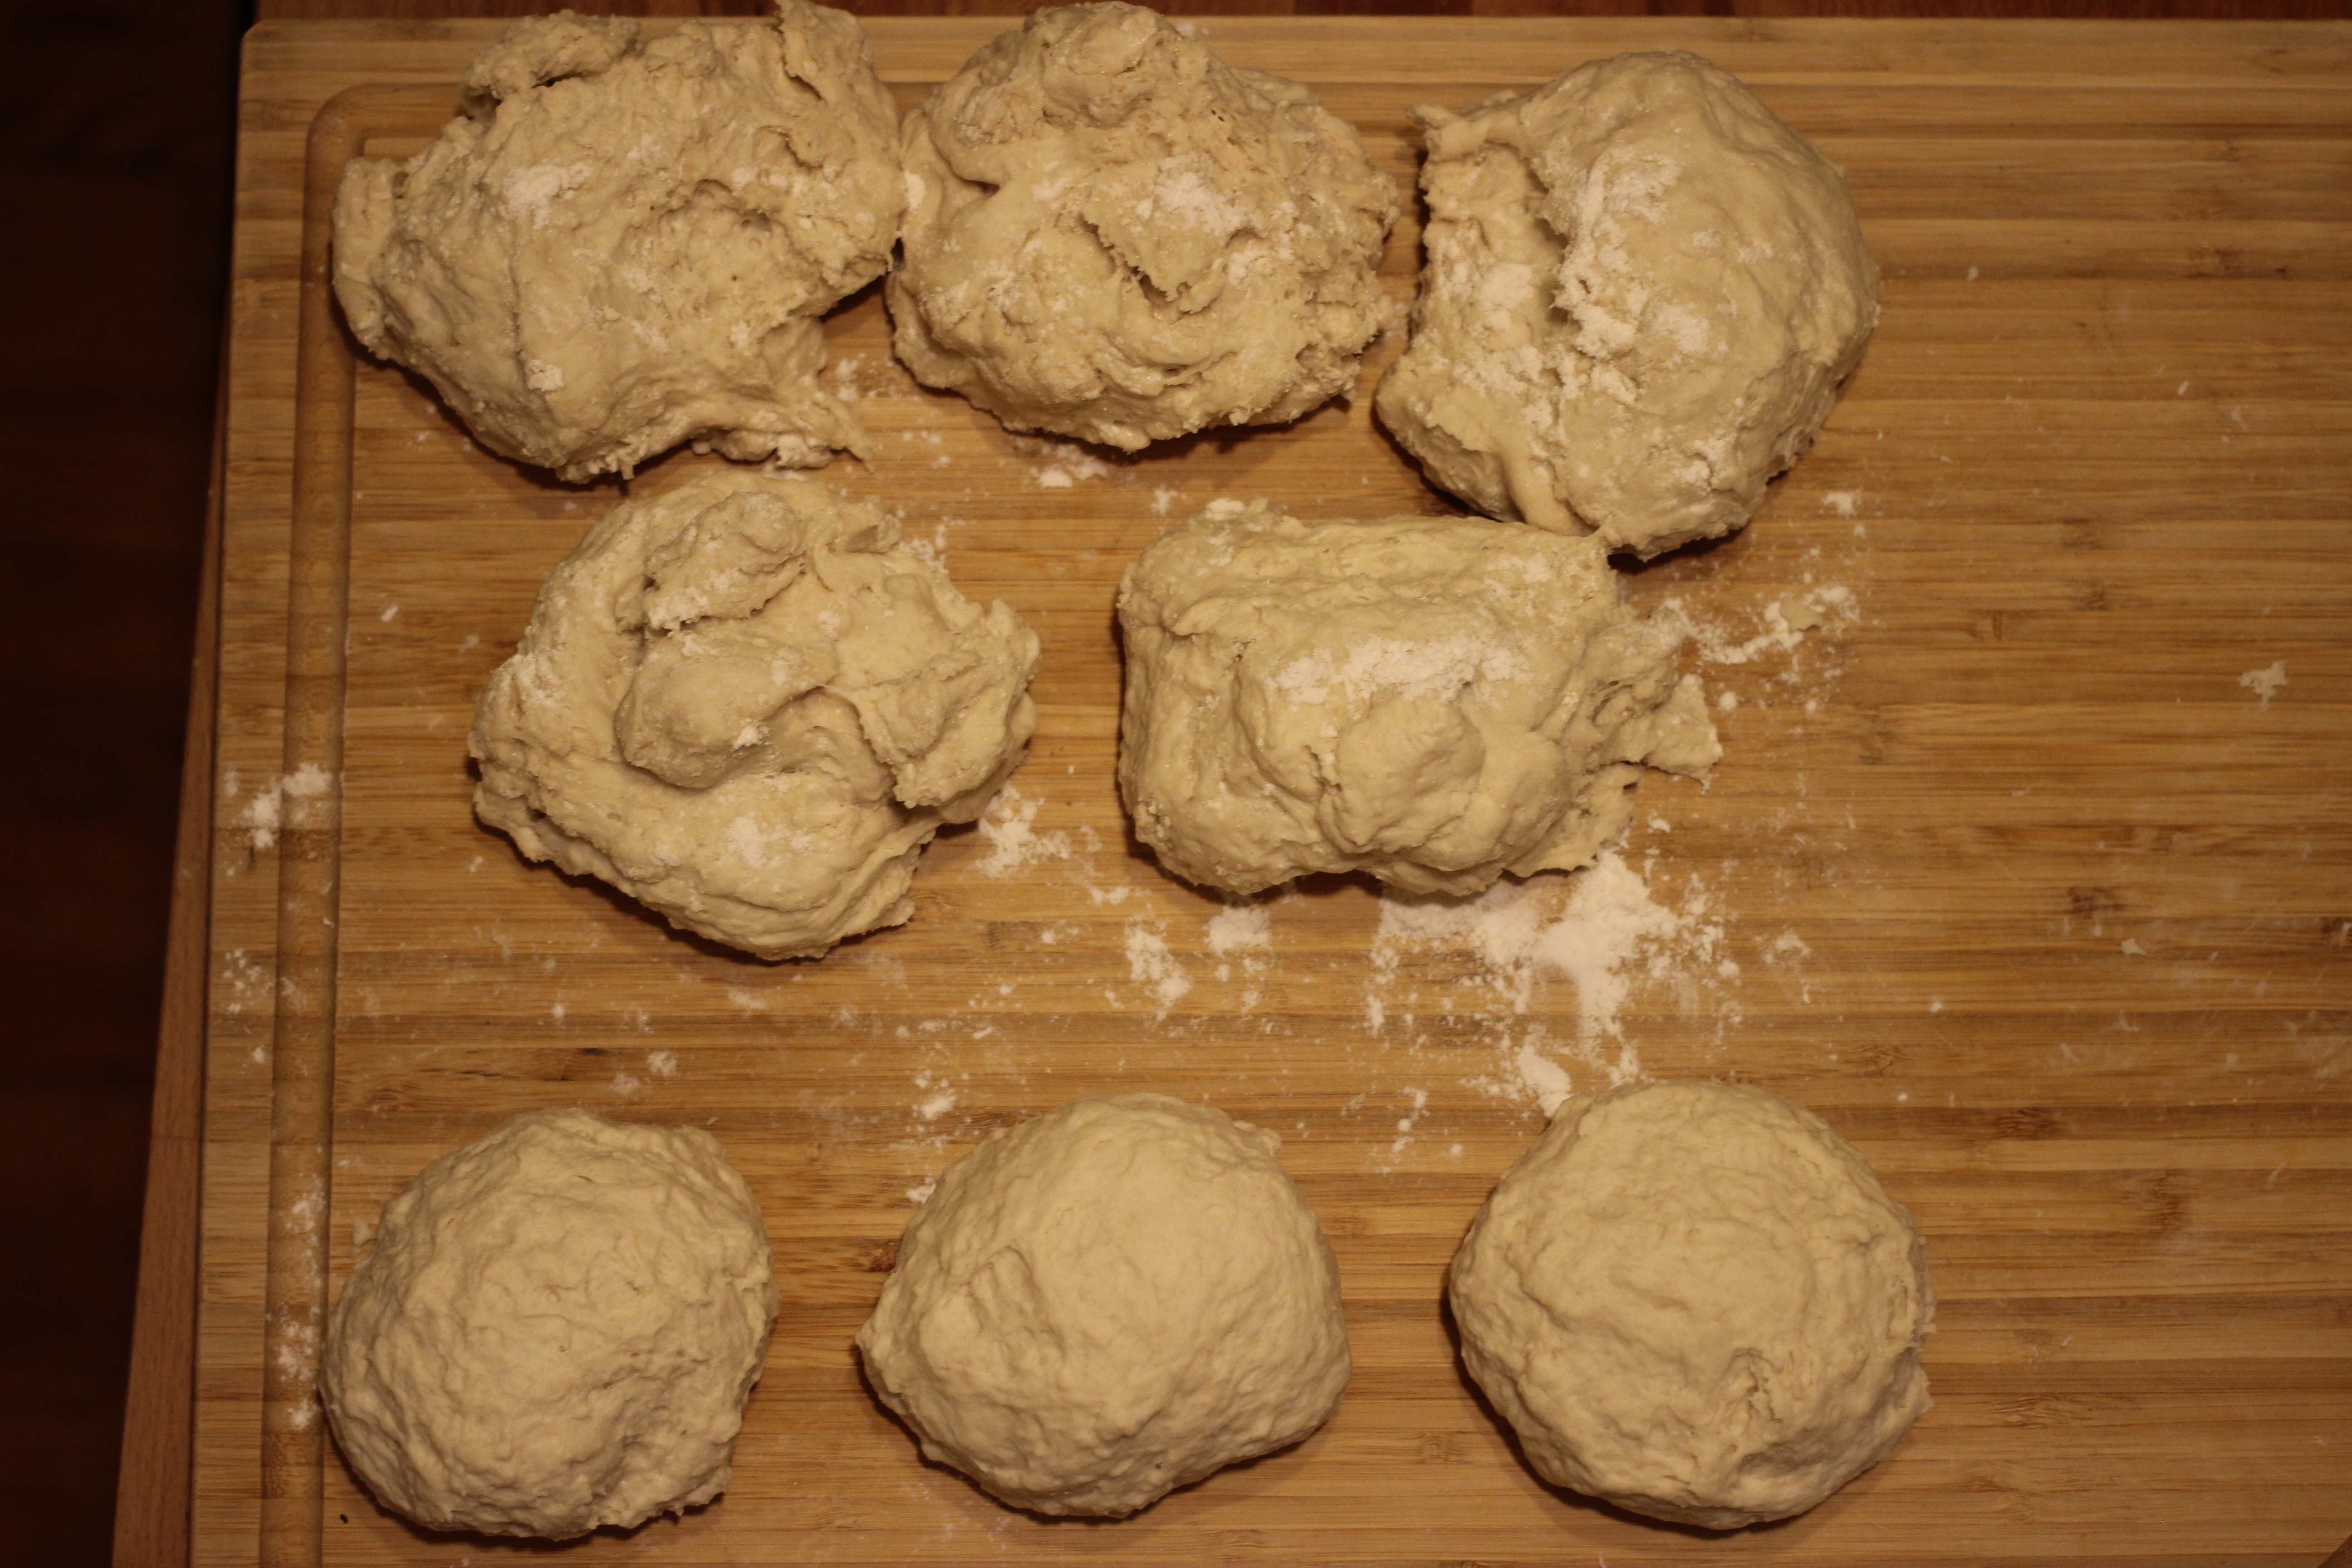
- Just after it’s combined, it should be a bit sticky but not super wet. Let the dough sit for 15 minutes in the covered bowl. After 15 minutes, split it in three to four pieces depending on your desired pie size (I weigh them but up to you).
- If the dough is initially too wet, add some flour and knead it in.
- If the dough is a bit dry, just leave it as is unless you’re using a stand mixer - it can be hard to incorporate more water by hand after the initial mixing.
- Put a little flour on a wooden cutting board and knead the three doughs one at a time. You only want enough flour to keep them from being sticky but they should feel a bit tacky. Depending on how the 15 minute rise goes, they will probably be pretty soft and stretchy. As you knead them, they will become tougher and have a “ripped” texture. Again, they will stay tacky and that’s fine.
- The idea is that you are constantly forming and breaking the gluten strands which creates a more complex (and strong) molecular structure that can hold onto air better. Thus it’s easy to under-knead but hard to over-knead.
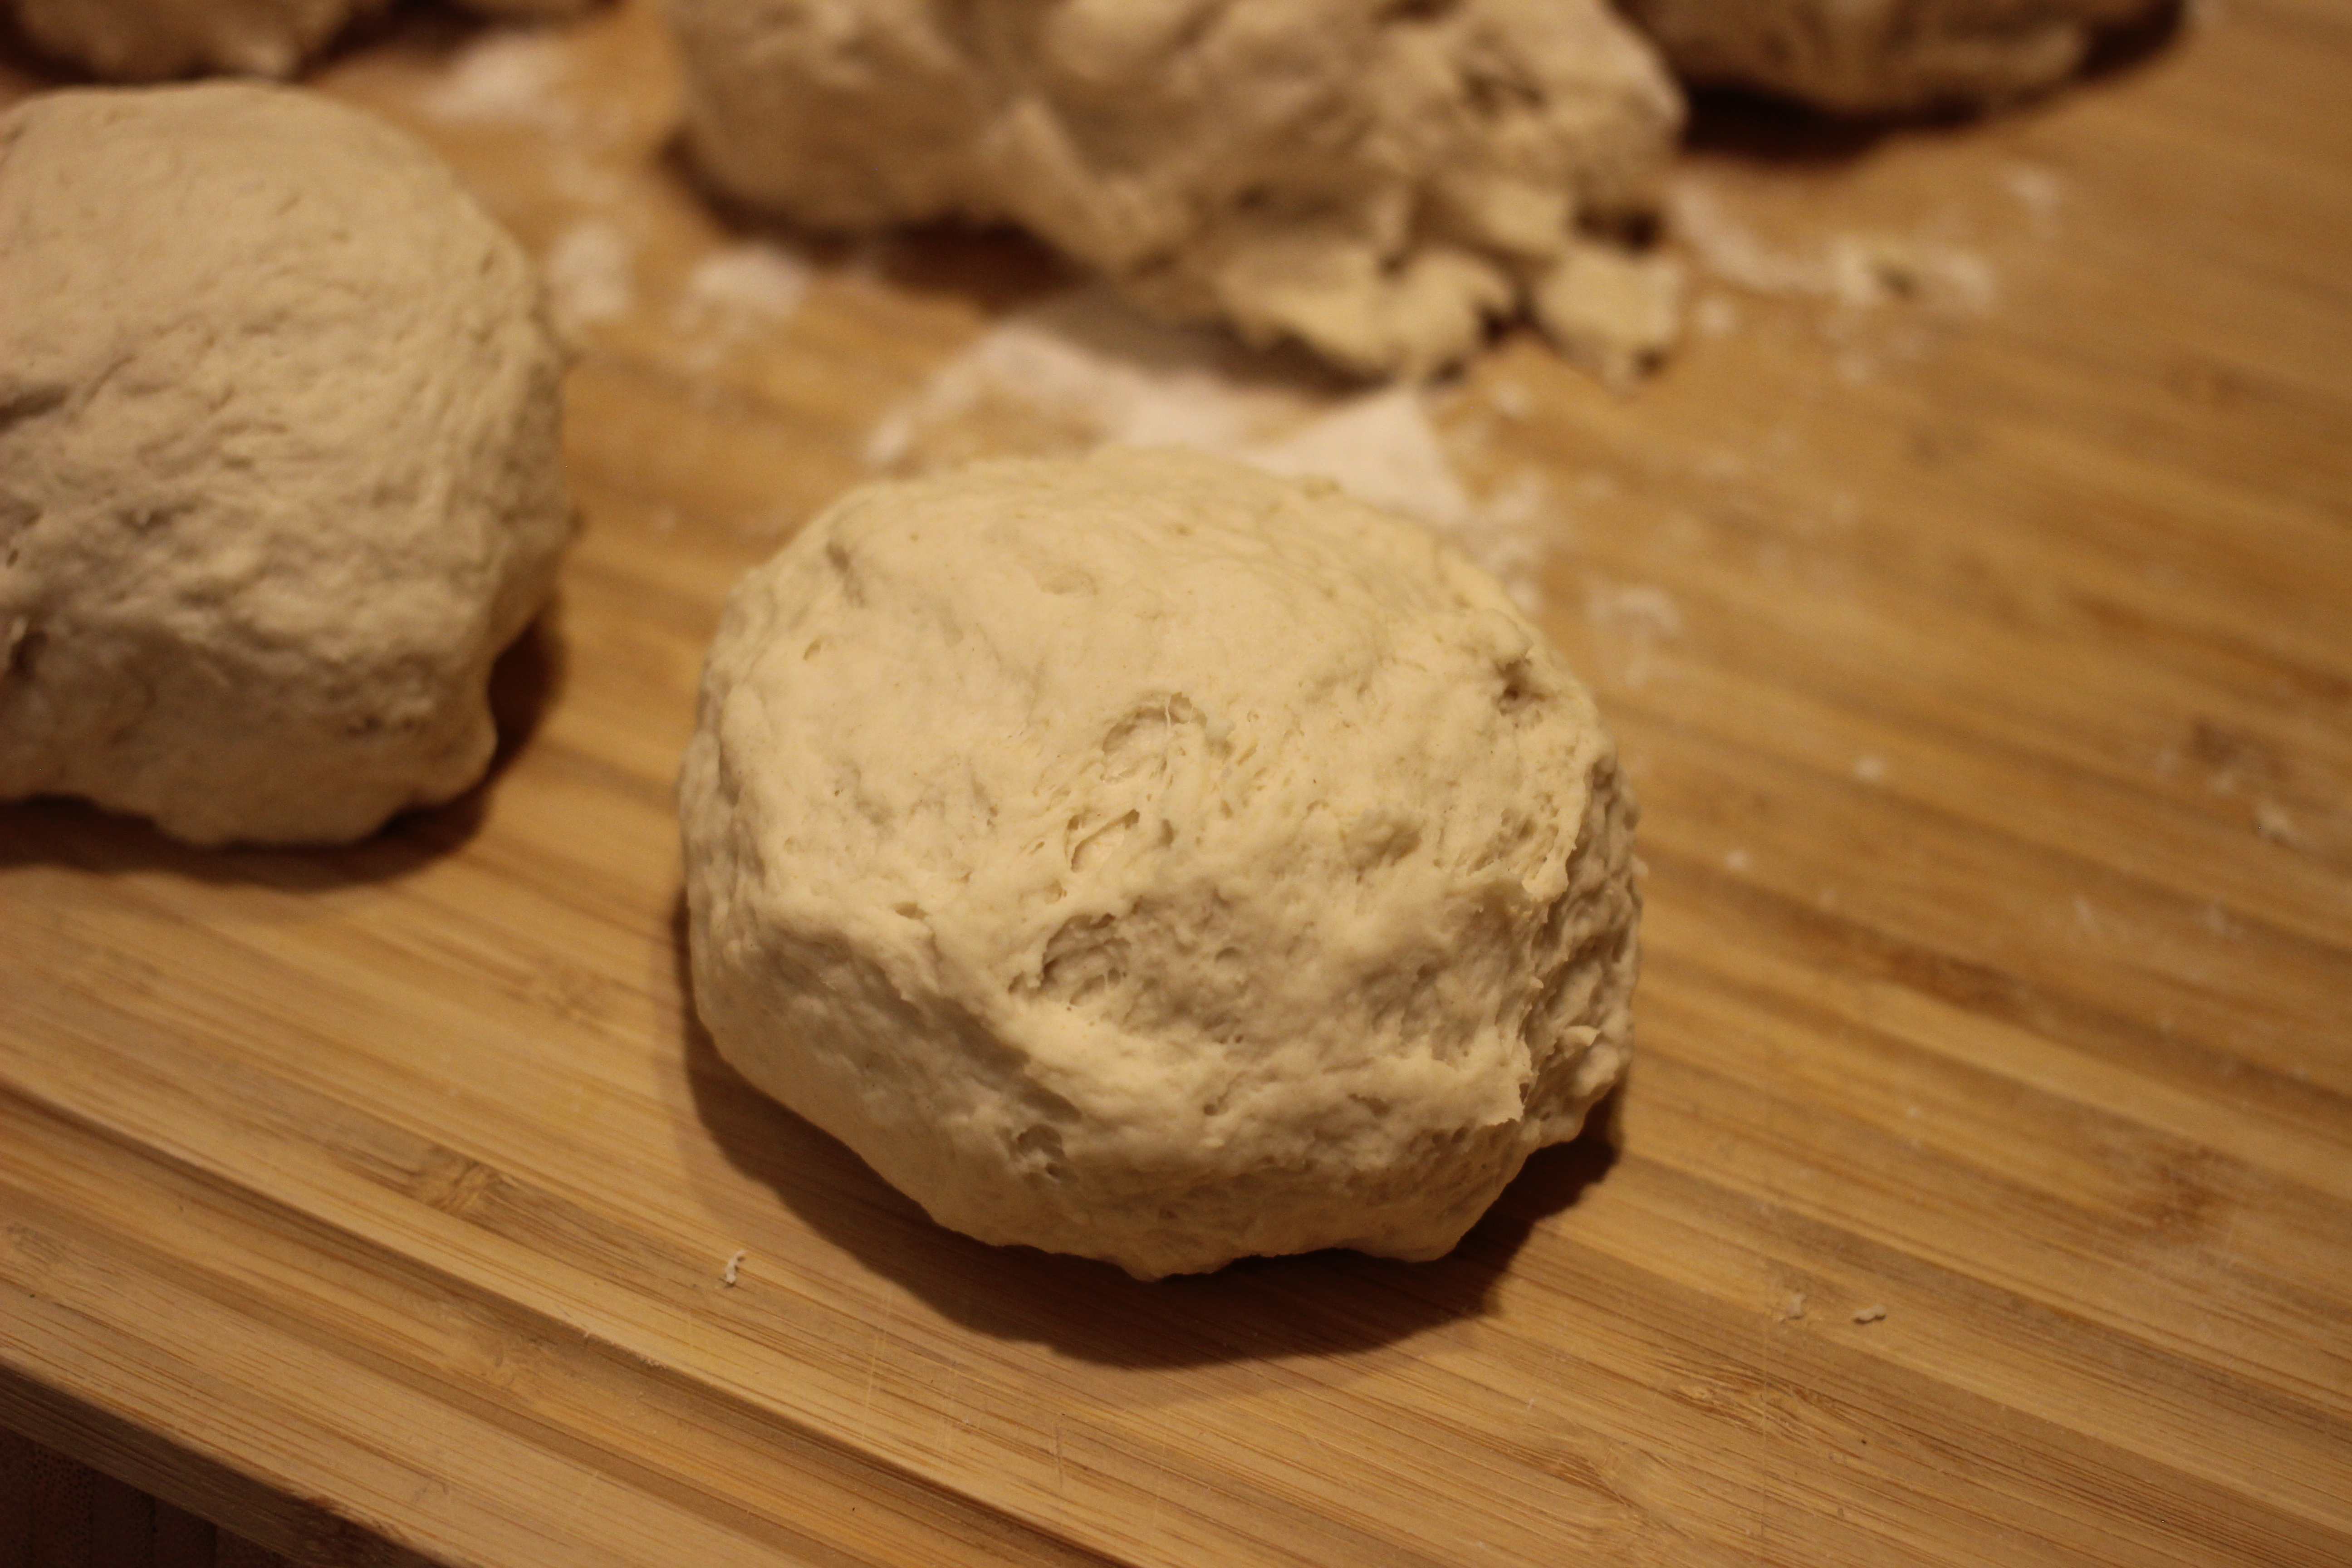
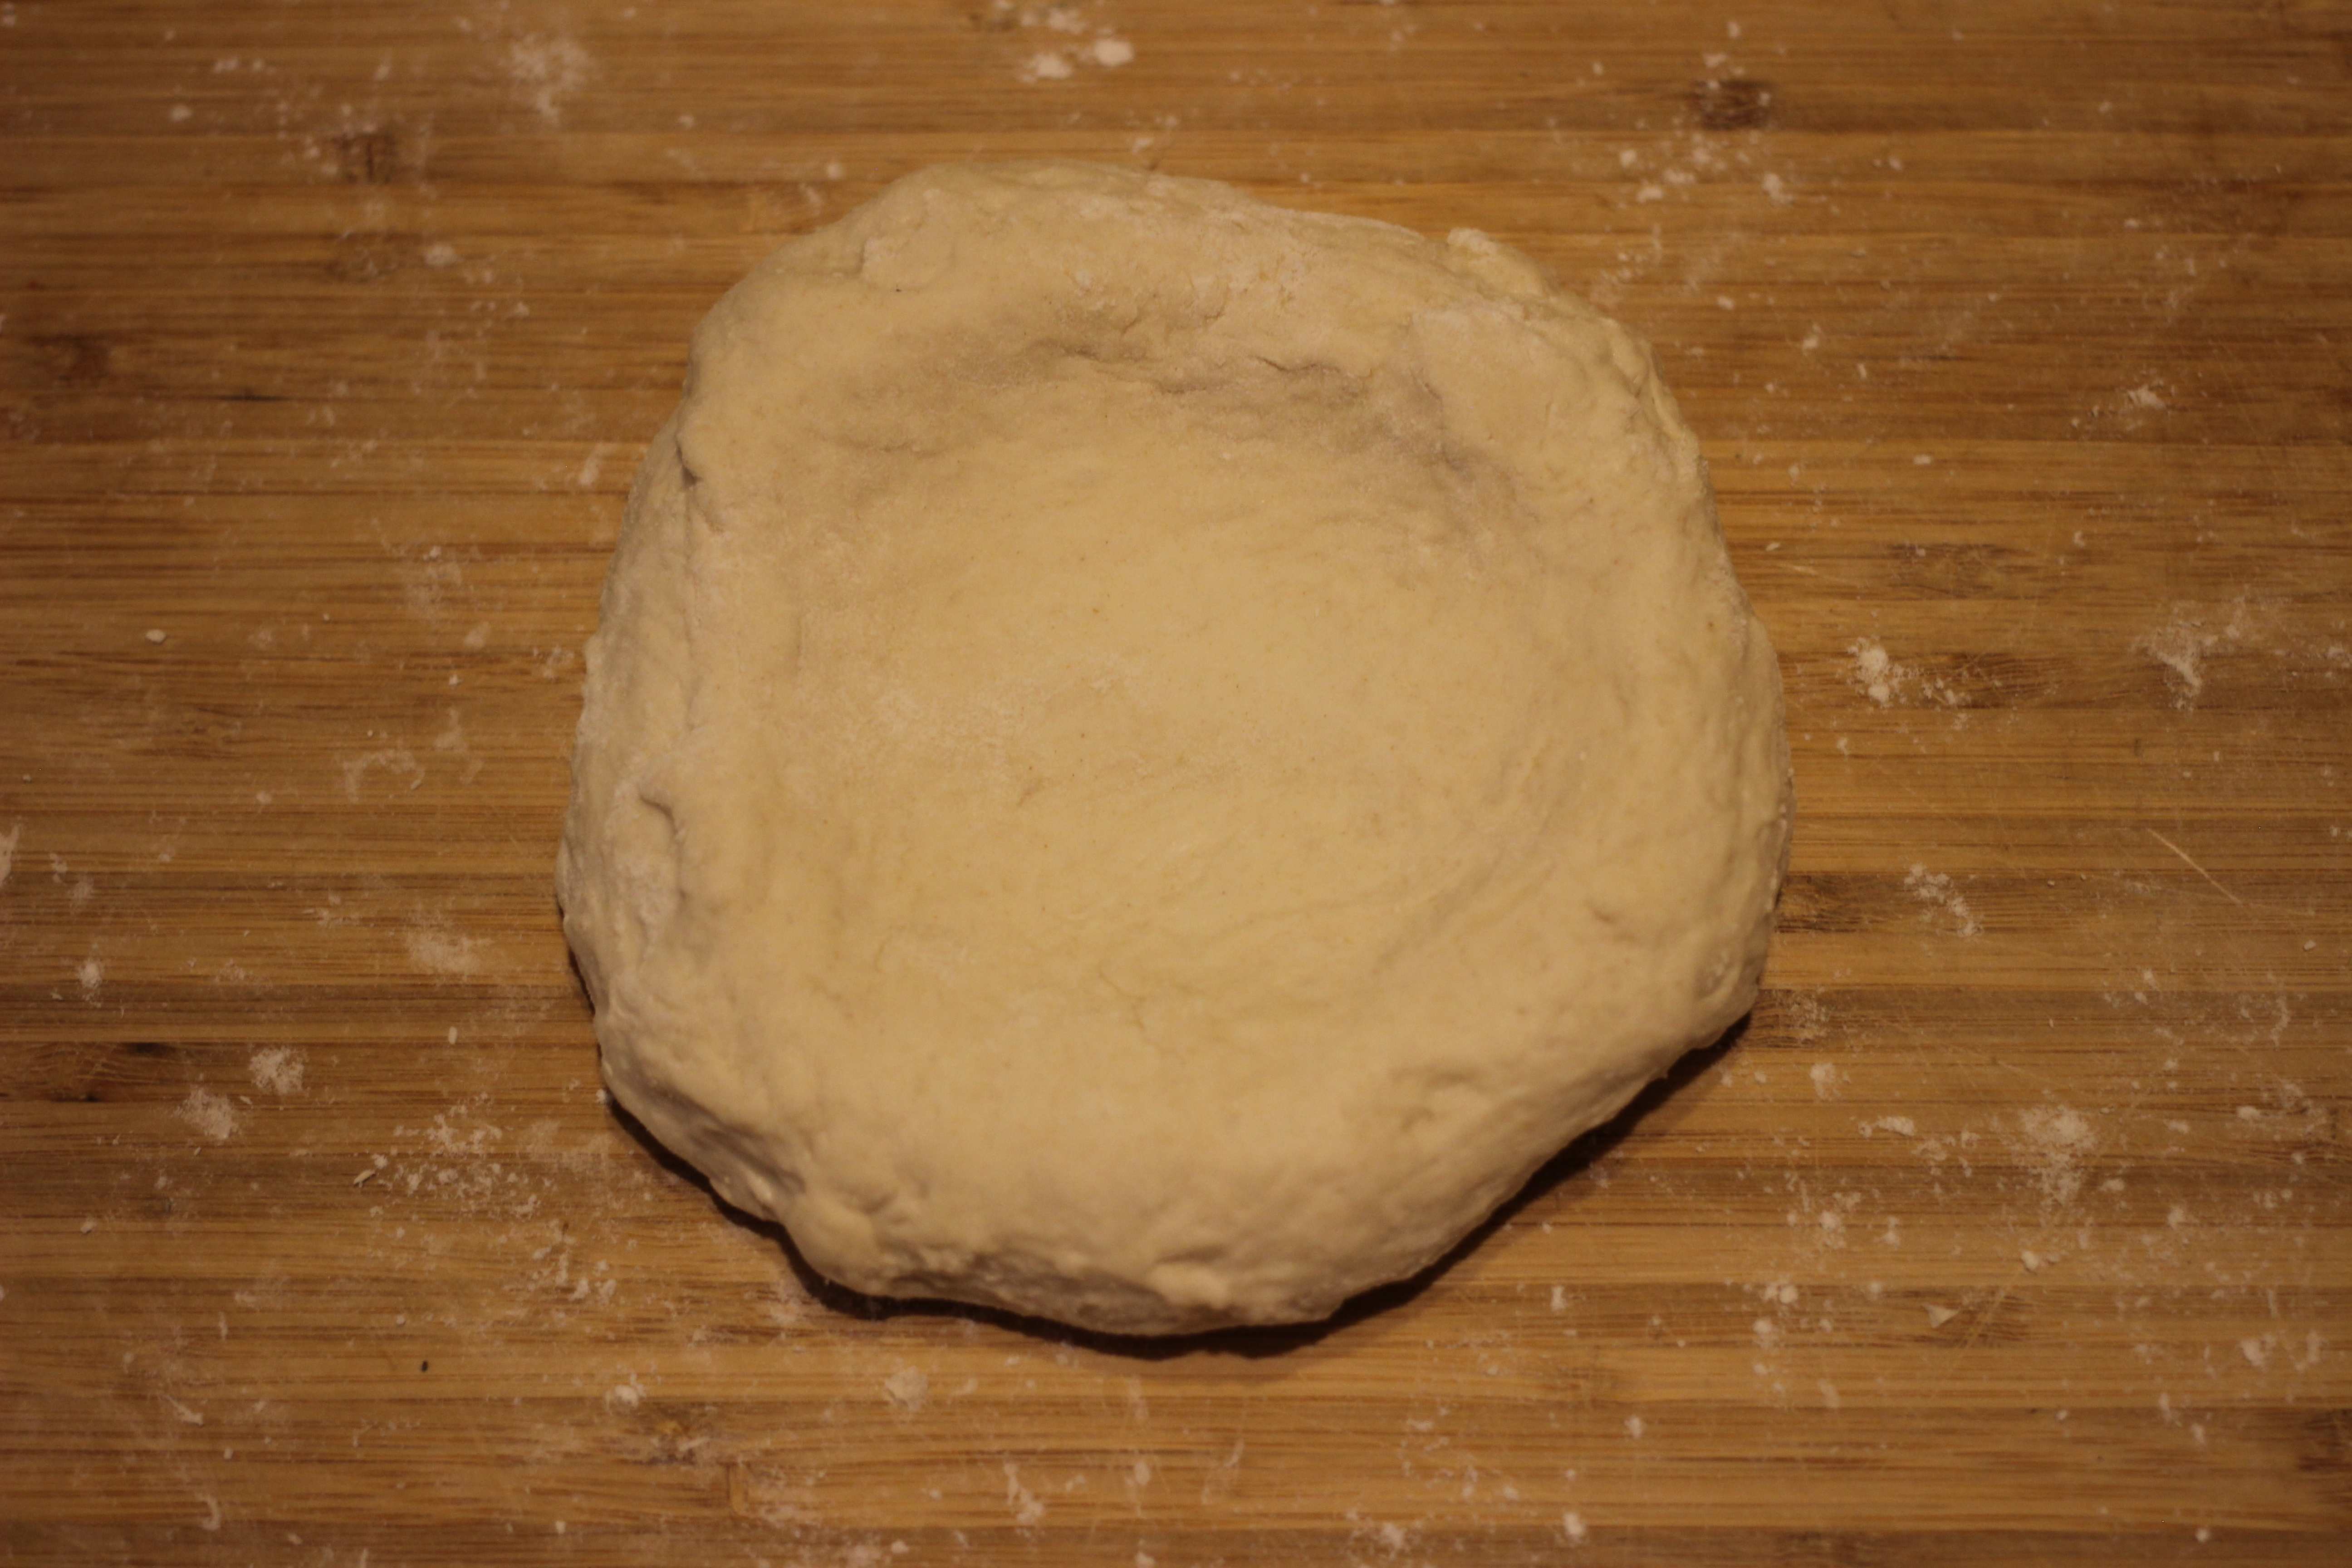
- After you’ve kneaded each dough (1-3 min per dough roughly), pick what you’d like to use as the “top side” and roll the edges of the dough under the top side until you can pinch them together at the bottom. You can pinch and twist the bottom to get it to stay together if the dough is tacky enough.
- If you’re using a home oven and have already used olive oil, lightly oil the exteriors of the balls with olive oil and put them each in their own containers to rise (deli container, bowl with plastic wrap, w/e).
- If you’re using a pizza oven and have not used olive oil, put the balls into their own containers with no other additions.
- Let them rest in the refrigerator overnight for the best flavor development (trust me when I say it’s a noticeable difference). If you’re trying to move more quickly than that, let them rest at room tempurature for at least an hour. If they are going to sit out for more than 3 hours, just refrigerate them for the whole time.
- The dough can stay in the fridge for up to a week (possible longer) - they may grow out of their containers in which case just push it down with your fingers to knock air out and cover it back up.
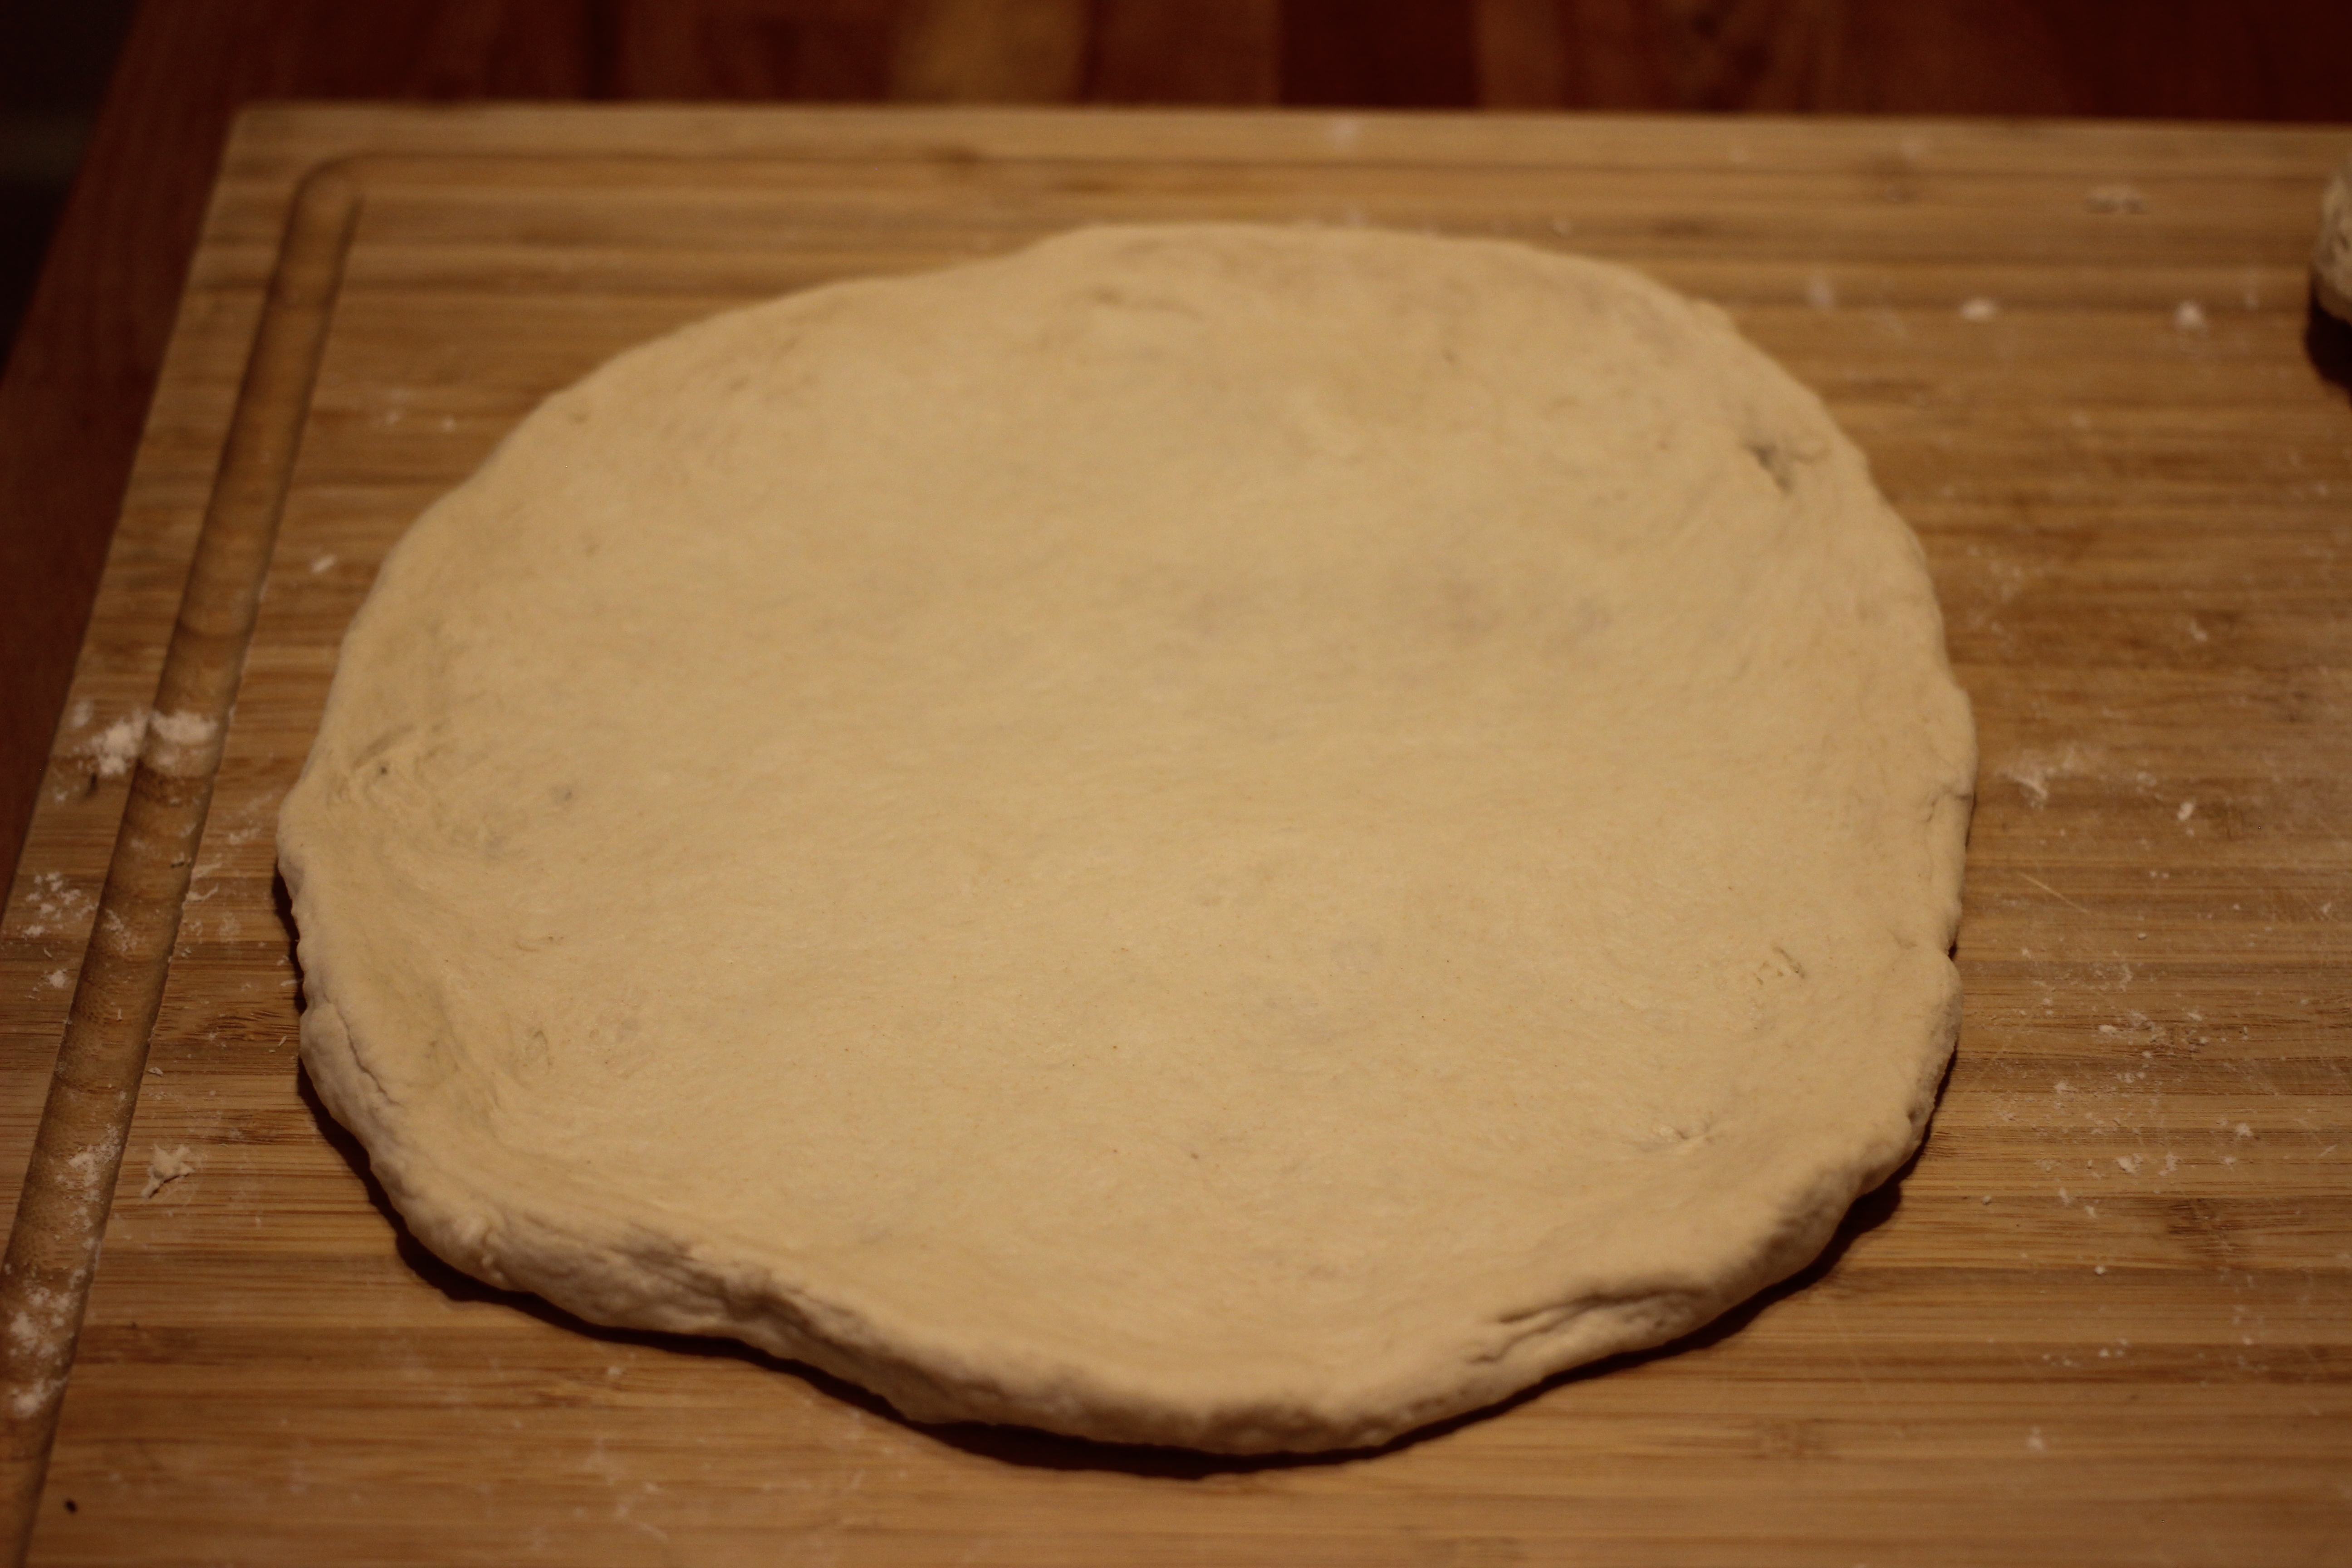
- Once you’re ready to cook, lightly flour a wooden cutting board, put the dough ball on it and roll/toss it so it gets a light but even coating of flour. At this point, you don’t want the dough to be even tacky (wthat ill make getting it to the cooking surface harder) but you don’t want a bunch of caked on flour either. Once it’s sufficiently coated (you can always add more later), put the dough ball in the center of the surface and push into the center with your fingers and slowly start working the material in the middle of the dough outwards until it starts to form a disk. Once it’s about 6-8 inches in diameter, pick it up by pinching the edge and let gravity pull it down while your hands work around the edge pulling slightly and then rotating the disk. This is the hardest part to describe so best to just look up a couple of good videos. I’d absolutely avoid using a rolling pin (which will push all of the air out).
|
|
And that’s all for the dough! I may add a video on it at some point since I think it would be useful to see the kneading and formation steps. Next up is sauce…