
Pizza: Putting it together
If you haven’t yet, check out the previous pizza posts - Introduction, dough, sauce.
The final steps along this pizza journey are the choice of toppings and the bake. Again, the choice oven matters here so I’ll again partition the instructions to cover both cases.
Toppings
The key to topping a pizza is the ordering of the additions. Put the one item before another and you could end up with an under or over cooked pizza. The guidelines for the ordering are based on one fact: too much water will boil toppings and too little will cause them to burn.
Sauce
Your sauce is the dominant source of water among your toppings (especially when your base is just a cheese pie). Thus, it should go on first and anything you want to protect from the heat should go next so that it can sit in the water that gently evaporates. Remember from science class, materials under going a phase transition (in this case, liquid to gas) stay at the temperature required to transition. So the liquid water in the sauce will never go above 212 F and that will regulate the temperature that the closest toppings are exposed to.
Note for traditional ovens: The cooking surface should be searing hot already and, if possible, it’s usually useful to pull the surface out of the oven, put the dough on the surface, and then top it before putting it all back into the oven again. The goal is for the crust to cook despite the addition of the sauce. If you had a cooler surface and applied sauce immediately, the water in the sauce would just start soaking up the heat and the crust would never cook correctly. There are two heat transfers happening - one between the surface and the crust and the other between the crust and the sauce. A higher temperature difference between surface and crust will cook the crust quicker but it won’t heat the sauce much quicker (or really, the sauce won’t suck up the heat much quicker). This is why the 800 F pizza oven users don’t need this warning - their surface is plenty hot to not have to worry about this.
Herbs and other delicates
On top of your sauce (before the cheese) goes anything delicate with low water content like fresh basil or oregano or even parmesan cheese. These are all of the items you don’t want to risk burning or even browning.
Cheese
Next is cheese which will act as an insulating blanket for your delicate toppings. The cheese will save them from the direct heat and also trap mositure so that they steam rather than roast.
If you can, get a block of whole milk, low-moisture mozzarella. The pre-shredded stuff has additives to keep the shreds from clumping and these hurt the ability for the cheese to be stretchy like you want in a good pizza slice. The skim/2% cheese doesn’t have enough fat to keep it from burning in the oven before the crust has cooked.
You can use fresh mozzarella as another topping but keep in mind that it contributes more moisture (so higher chance of pizza soup) and by itself, it can’t act as a barrier to keep your sauce from evaporating away in the oven. Again, there’s a big battle to keep moisture low but to also not lose too much of it. I find mixing half low-moisture and half fresh mozz is a nice balance.
Meats and robust veggies
Finally, you should add anything that you want to recieve direct heat. This is often meats like peperroni that will crisp up nicely but vegetables with high water content like peppers, mushrooms, and onions are also important to put on this final layer. They will roast (which is good for the flavor) but they will also lose their mositure to the hot and dry environment. If you instead put them under the cheese, the moisture would be trapped under the cheese blanket and you’d (again) have soup-y pizza.
Baking - Home oven (max 550 F)
- For cooking, you want a pre-heated oven as hot as you can get it (usually 500 or 550 F) with your cooking surface pre-heating in it as well. If you can get your oven to just be on constantly, just do that.
- For the cooking surface, you want something with high heat capacity like cast iron, a thick baking steal, or a pizza stone (though some pizza stones don’t like the super high temps so you may risk cracking it). A cookie sheet or aluminum pan is not going to work well because it has low heat capacity and its temperature will drop drastically after you add the pizza, leading to an undercooked a crust. As stated eariler, once the surface is heated, I’d recommend taking the cooking surface out of the oven, resting it on the stove, putting the rolled out dough (with no toppings) onto it, and then topping. This gives the bottom crust a chance to form while you avoid having to move a fully topped, uncooked pizza.
- My only warning is for real broilers. Some ovens say “Broil” and it just means “oven always on” while others have an actual heating element on the top of the oven. If your oven has the top heating element, it might seem like using it is a good idea to cook toppings. Maybe to finish the cooking that would be fine but don’t pre-heat your oven with it. The oven itself won’t get to a high enough temp and you could damage your cooking surface with the close heat. Just treat the high cooking surface temperature as the priority and use the standard baking mode at its highest possible temperature (convection cooking probably works well but I’ve never had the opportunity to try it).
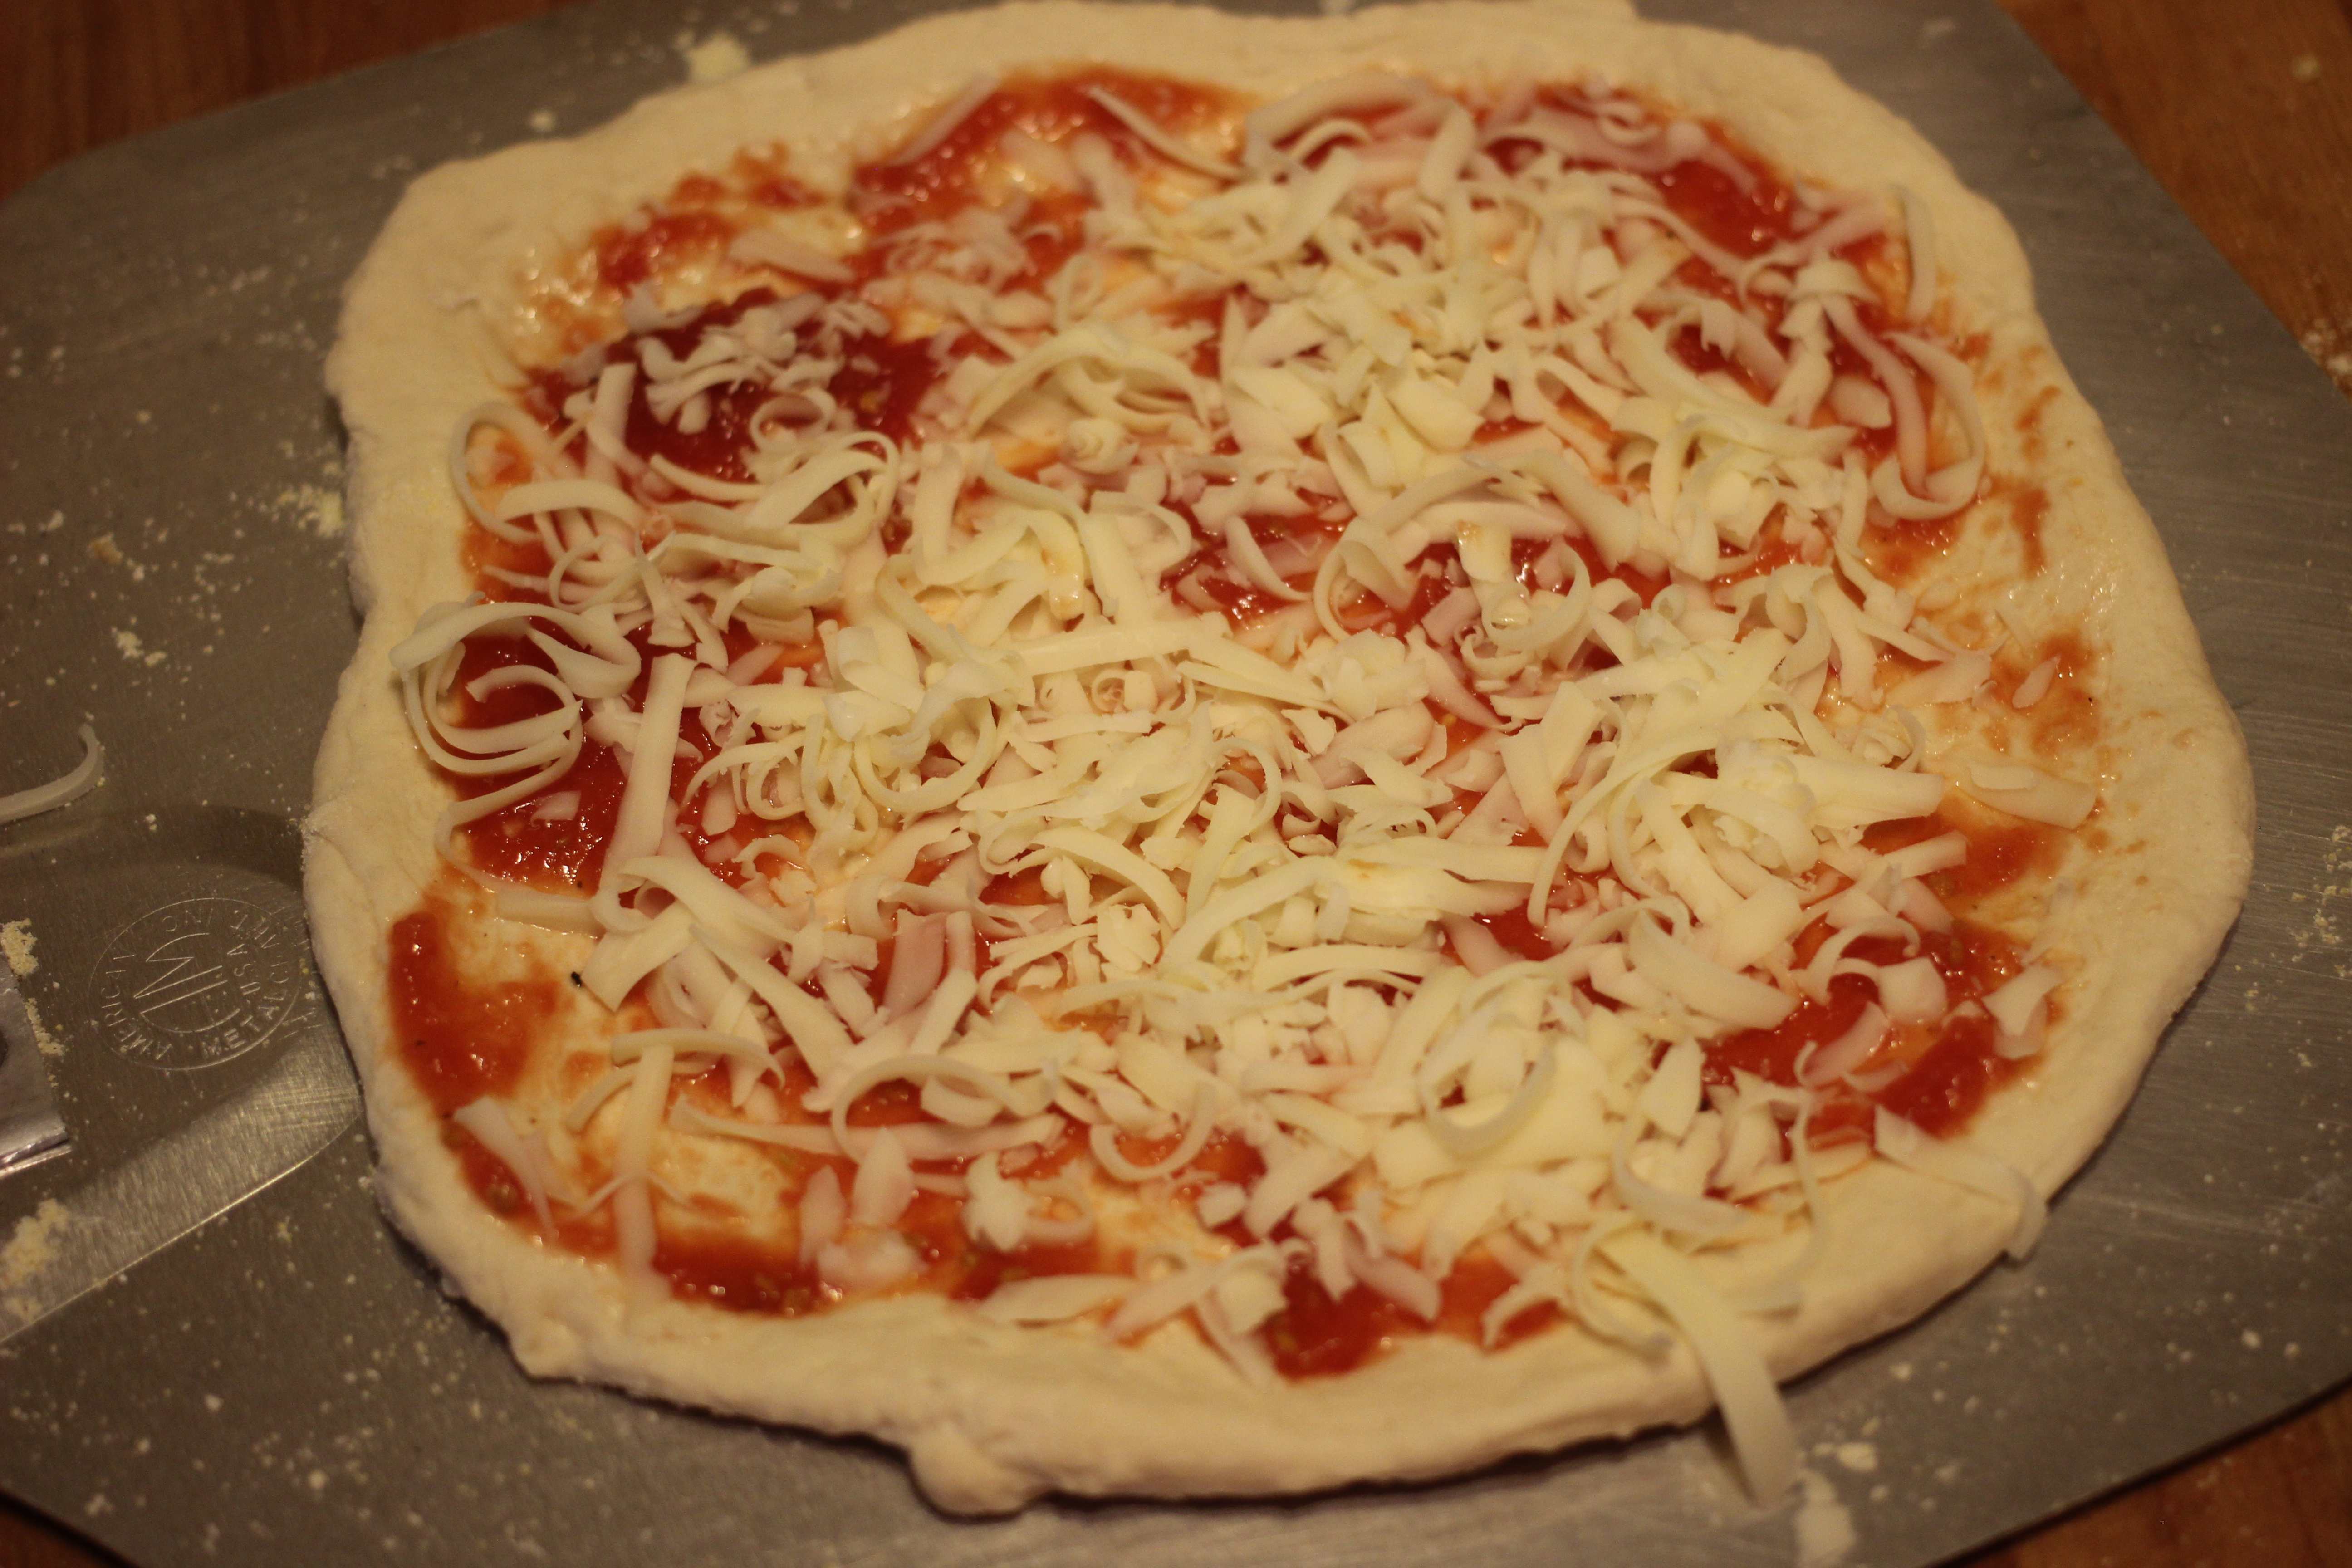
- Top the pizza with sauce (2-3 tablespoons), then delicate herbs (basil, etc that could burn), then cheese (lightly cover and don’t go overkill - it will melt and spread), then anything that could benefit from direct high heat (pepperoni, mushrooms, peppers, etc).
- Put it all in the oven and cook until the crust is well browned or the cheese/toppings have cooked - hopefully this happens at the same time. It’s usually 10-15 minutes.
Baking - Pizza oven (max 900 F)
- Follow your oven’s instructions to heat. Use an infrared thermometer to track the temperature. My Ooni Fyra has the flame at the back so the heating is not even but I take ~750 F in the front half of the stone to mean the oven is ready.
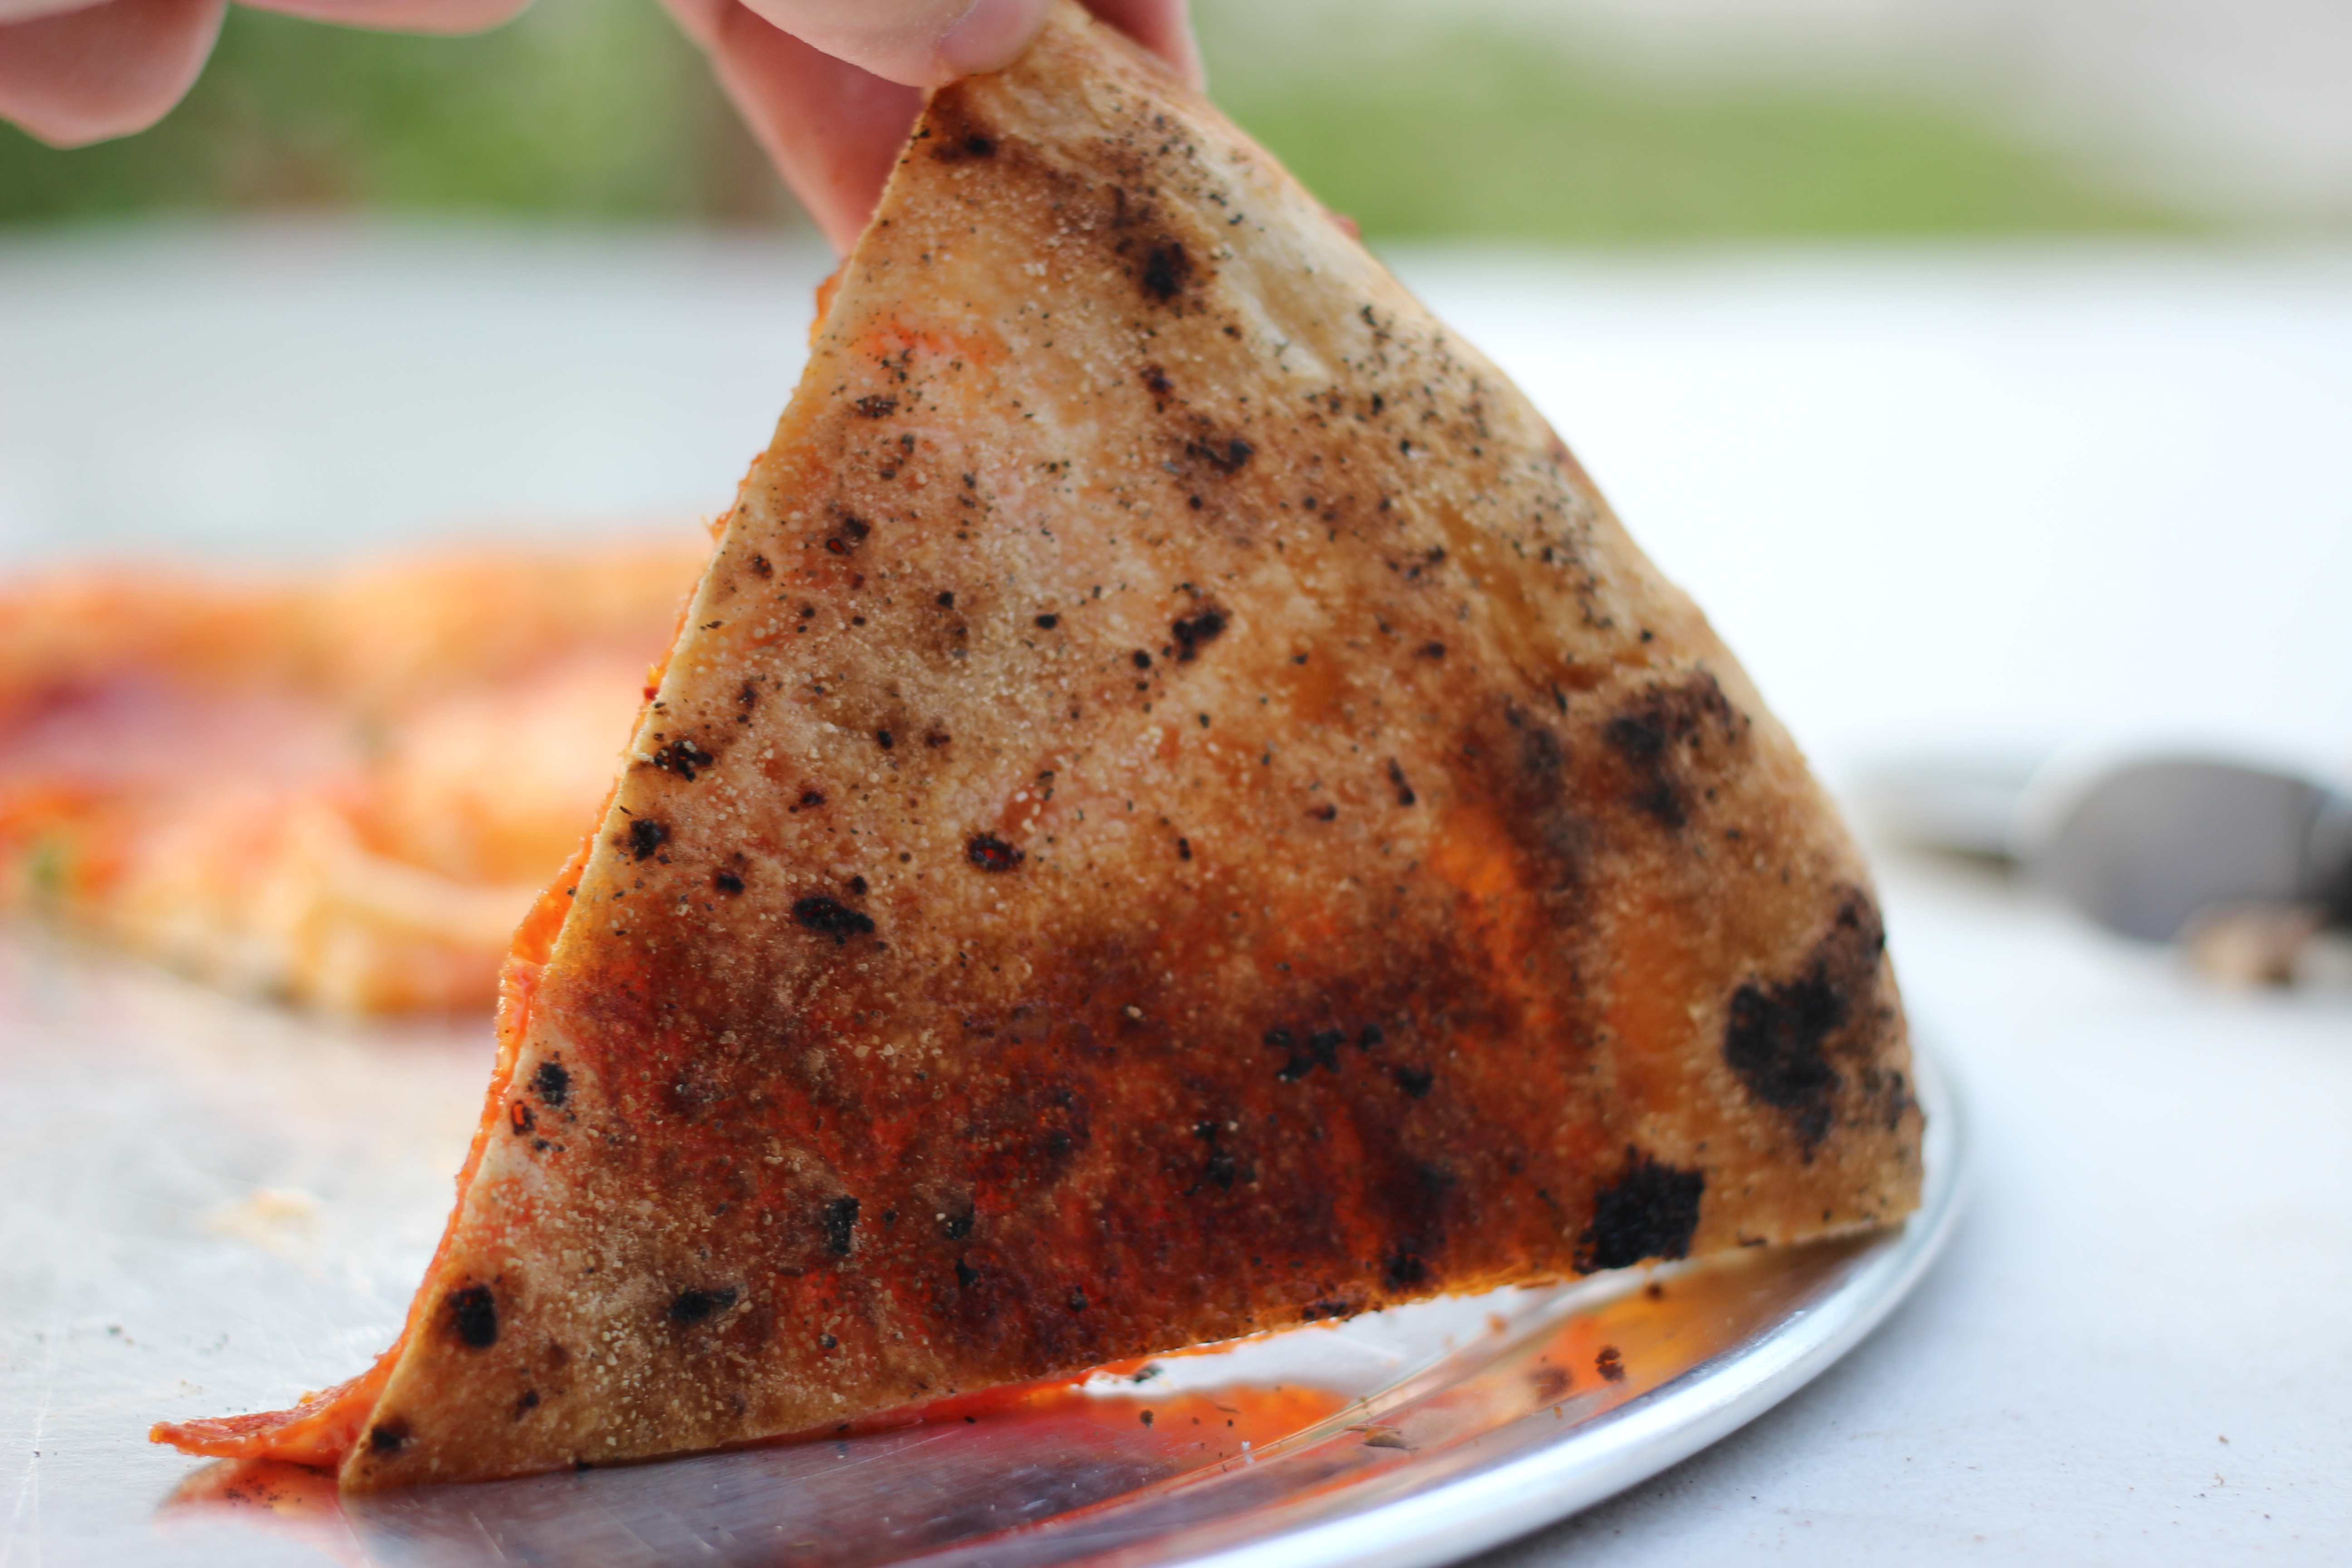
- Use corn flour as the non-sticking agent for your pizza peel then add your dough onto it and give it a good shake forwards and backwards
to make sure it can slide. Add more corn flour where sticking is occuring.
- Don’t use regular white flour for this part. It will quickly burn and turn into a sticky substance on the bottom of your crust that does not taste good and sticks to your teeth.
- Once the dough can slide easily on the peel, add the sauce and spread. Then shake again to make sure no sticking has started (it will get harder to fix it after this point).
- Add delicate herbs (basil, etc that could burn), then cheese (lightly cover and don’t go overkill - it will melt and spread), then anything that could benefit from direct high heat (pepperoni, mushrooms, peppers, etc). Shake after you add each part and be quick! The longer you leave the dough, the stickier it will get and the harder it will be to slide off.
- Once done with toppings, slide the dough into the oven immediately. Rotate every 30-60 seconds or as one side cooks quicker than the other. With the crust evenly browned, remove from the oven and enjoy. If your oven has maintained heat, the pizza won’t be in the oven longer than 2-3 minutes.

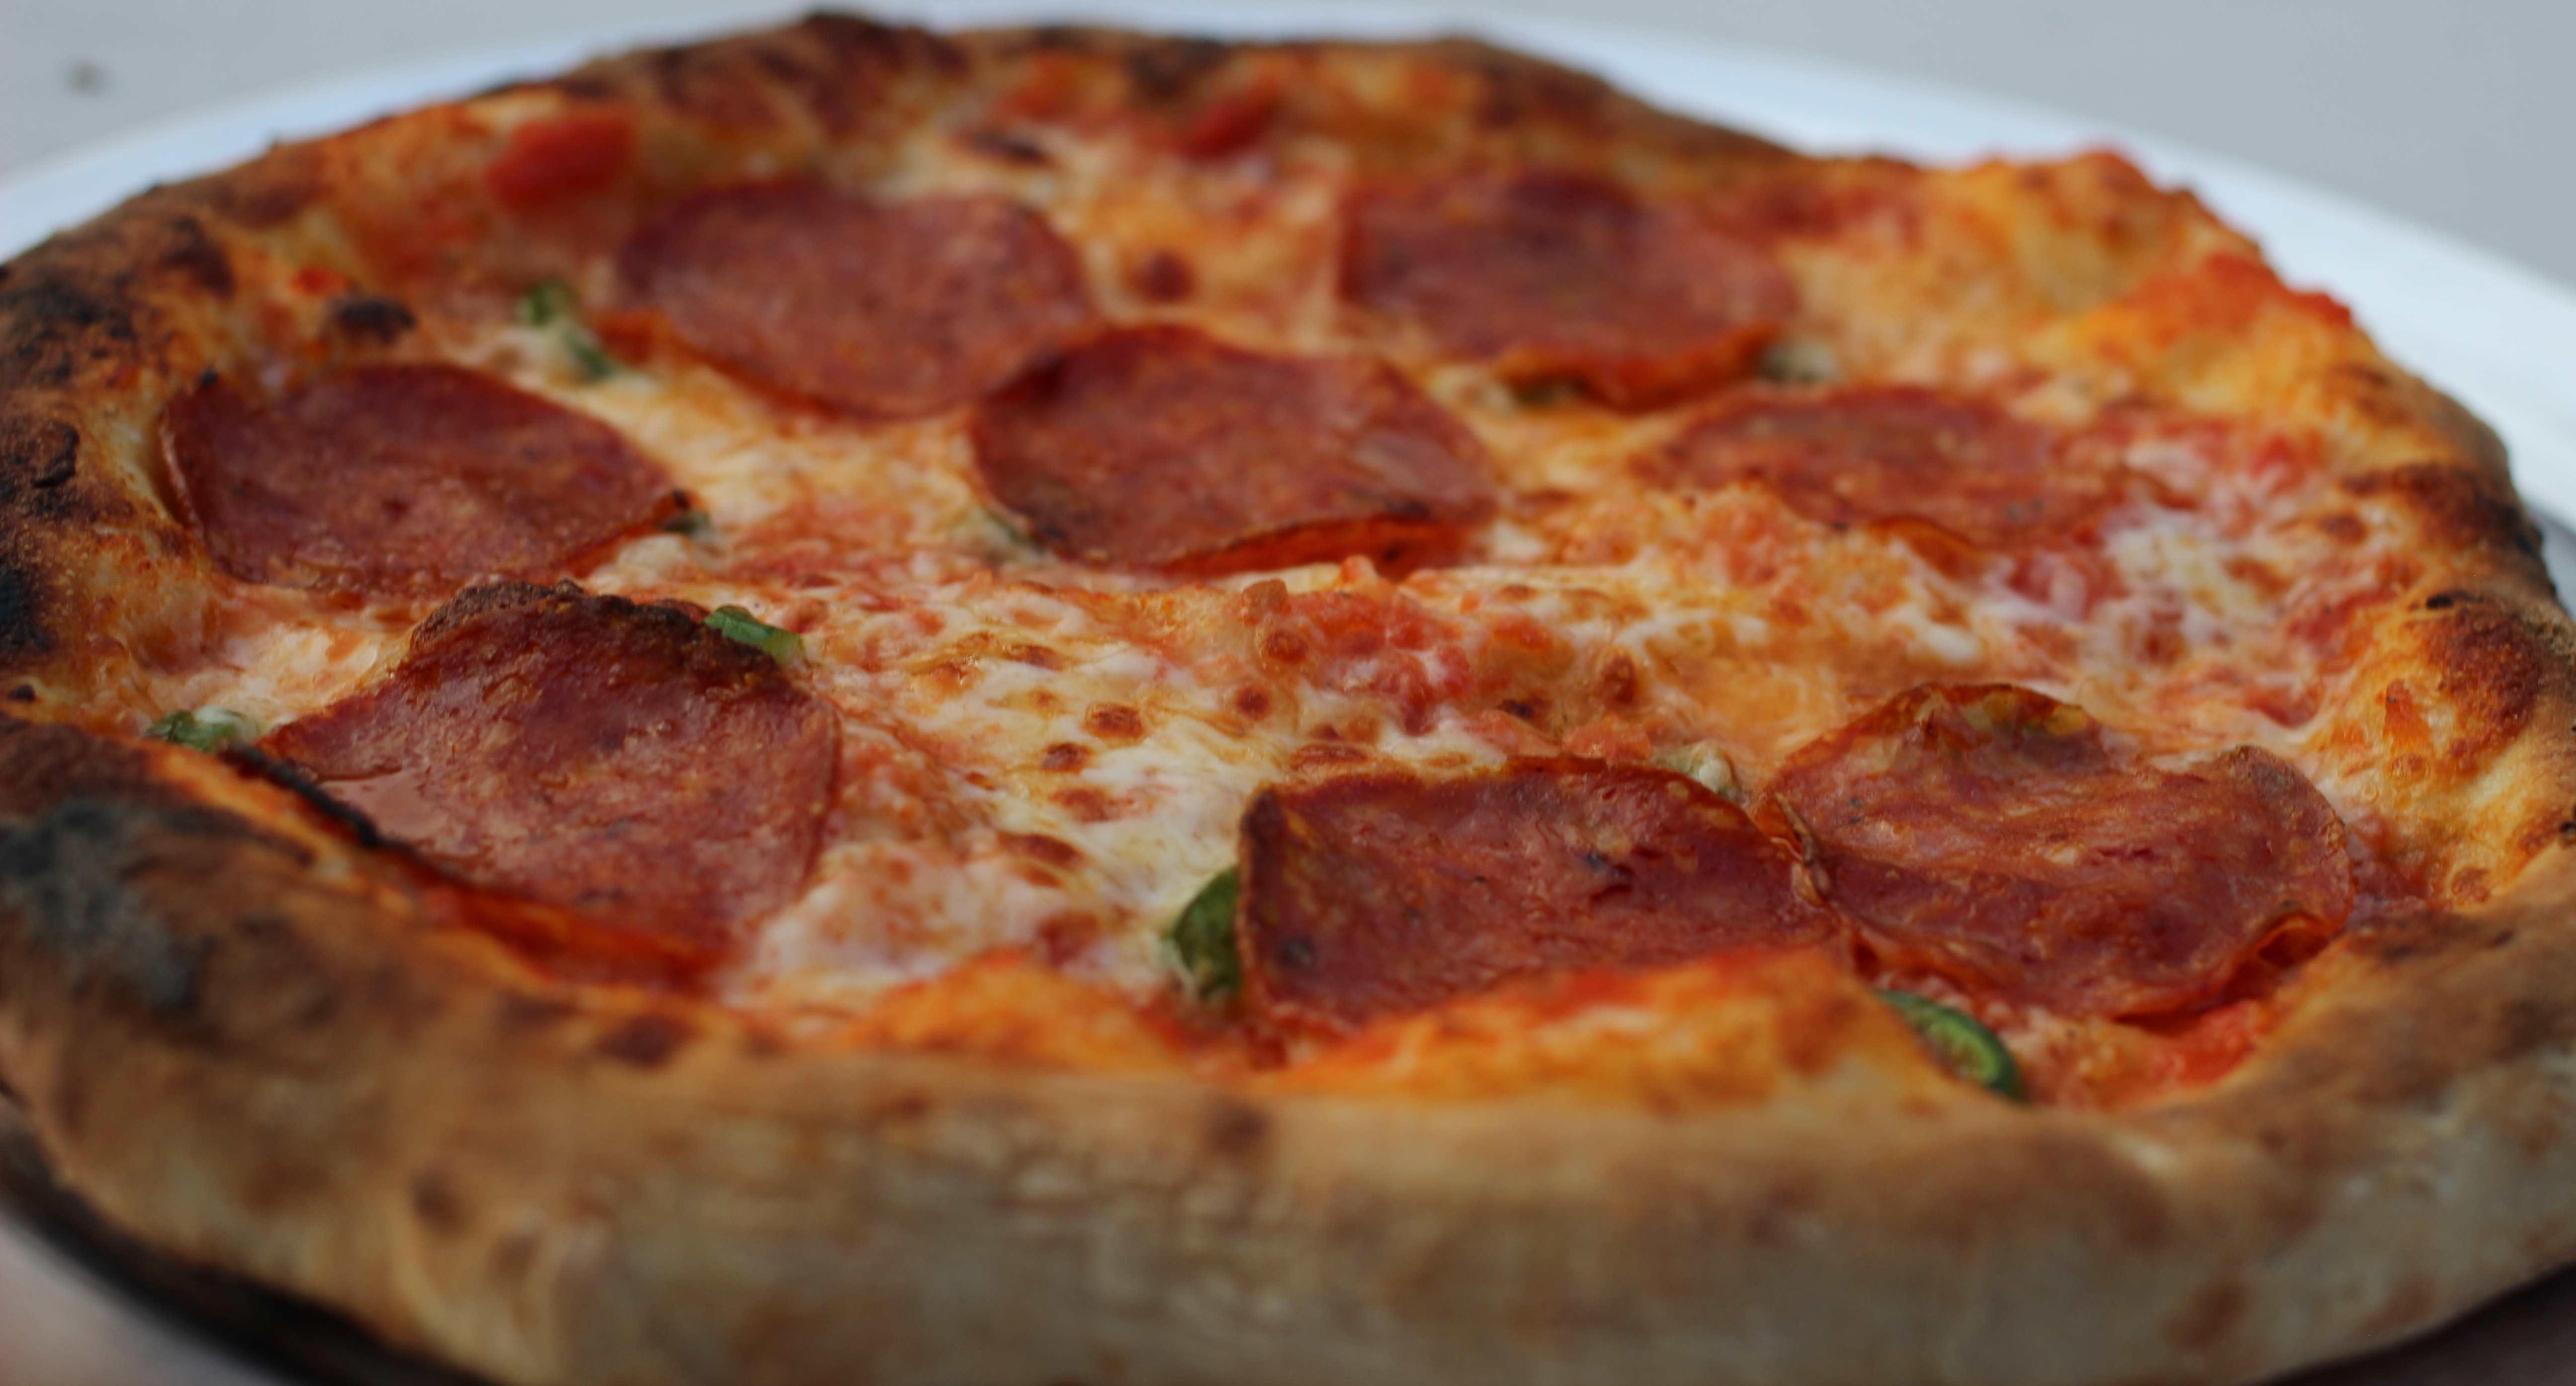
Before we close out this series, I just want to show off the final product a bit below. The dedicated pizza oven is making an enormous difference here - an extra 300 to 400 degrees will do that. However, the importance of the tedious steps I’ve outlined becomes apparent: the control of the water content, the time taken to knead, resting the dough overnight, planning the ordering of toppings. These all help achieve a thin crust that is well cooked, crisp, and not soggy. Meanwhile, the end-crust has big air pockets and is soft and chewy from the work we did on the gluten structure. These all hold true in the conventional oven version of this recipe as well - a testament to the fact that anyone can make good pizza.
|

|